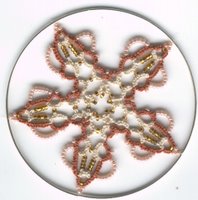
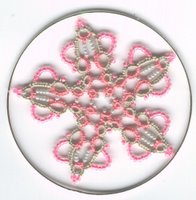
Oooh, I'm definitely going to make more of these for my Christmas giveaways. I love playing with the colour combinations of threads and beads. Got to use up some of my beads as Sue and I have bought yet more off ebay!!! Are we beadaholics?
6 August 2006
28 July 2006
27 July 2006
25 July 2006
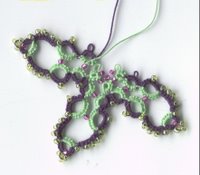
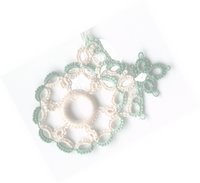
Another version
Second, and last, version of this suncatcher. There, I've even got a name for it!!! It actually fits in a bangle so I shall mount them all in those as Christmas giveaways. Quite pleased with this one!!! The unfinished one on the right is just me playing with bead and thread variations.


24 July 2006
23 July 2006
Playing
This is an idea I'm playing with now!!! Not sure if this will be useful or not. The stitch count needs 'jiggling' and perhaps the 'spokes' need to be separated and not joined at the outer green places. I shall play with this later and also not use the very long picots with loads of beads. It may look a lot less cluttered with beads on the actual SR's and chains. Back to another re-tat!!!!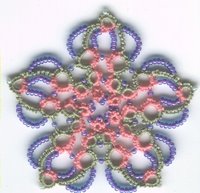

22 July 2006
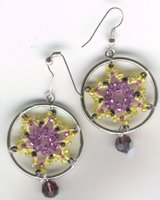
3 Pairs of Earrings (click here for the pattern)
My dear friend Sue sent me these earring hoops and I just HAD to make something to go in them. I used my own pattern which and when finished 'tied' them into the rings using some invisible thread. I just can't wait to wear them but MUST go get a shower, dressed before I do!!!!



21 July 2006
20 July 2006
Also I've started back on Motif 7 and at Gina's suggestion I am now doing 'tatted middles' to the different versions so that if people don't have small plastic rings they can still use the motifs!!!
Here's one already done.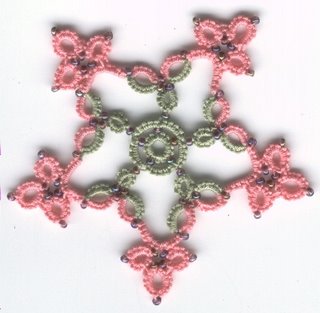
Here's one already done.

Finished the MAT!!!!
At long last and this is the final round. The garden mat is finished. It measures 26" from 'point to point' and 22" from side to side.

19 July 2006
YIPEEEE
This afternoon I finally finished the garden mat. I hope to take pictures tomorrow and then I'll post it on here. I'm now going back to check over motif 7 and to make alternative centres so that each version can be made without using a plastic ring.
14 July 2006
Good News/Bad News
Finally found the missing elephant - that's the good news. Bad news is that he/she suffered many washes in the pocket of my favourite jeans!!! This is the one I'm talking about towards the bottom of this page - http://janeeborall.blogspot.com/2006_06_01_janeeborall_archive.html . A dead elephant. Still the finished one is happily on my web site now!!! http://www.e.n.e.btinternet.co.uk/elephantonion.htm
10 July 2006
Version 5 - my favourite and last (I think!!!)
This is the last one. I don't feel another one popping into my head at the moment. VERY pleased with this one and it's just the right size for the Christmas giveaways. Again I've used three rings on the second side of the split ring to form a clover. It'll need stiffening slightly with the beads, I think.

8 July 2006
7 July 2006
4 July 2006
3 July 2006
Version 3 - trial!
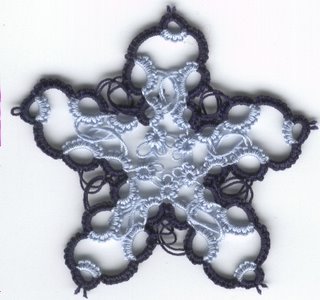
This version uses the same basic idea on round 1 that I used before. I've had to slightly alter stitch counts. This version will be a five pointed star (yes, Sue, I do listen!). The interesting part of this is the clover on the split ring. I wondered if it would work and it does. Lies very well too. Need to now add beads and 'play' with stitch counts on round 2. I'm not happy with the chain coming out of round 1 so will try another idea. Can't wait to use beads on this one!!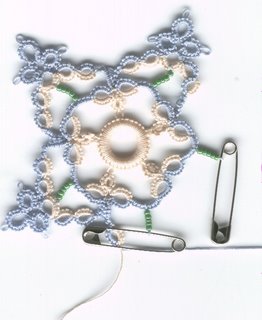

30 June 2006
29 June 2006
28 June 2006
Latest ideas - motif # 7 (aka suncatcher, snowflake or whatever!)
I'm not entirely sure yet what I shall call this but I'm hoping it will be simple enough for my Christmas 'giveaways'. Time will tell!!! Kept me outa trouble for ages and I'm not sure it's going to work yet!!!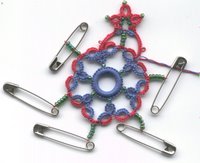

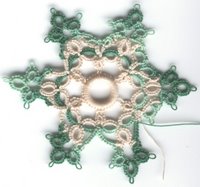

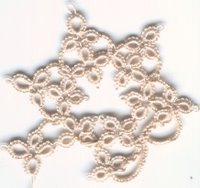


Christmas giveaway (aka motif # 7)

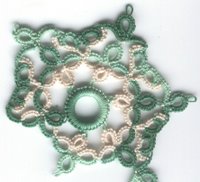
This is what I'm now playing with. Starting from the bottom and working up you will see the progression from
Next round started!
After a very pleasant hour or so on the living room floor I decided to go with the idea of another round. This will sort of represent the sky and will be made in blues, purples and mauve combinations. I'll post another picture when I've got a few motifs done. Meanwhile the next new pattern 'idea' has gone on the back burner!!
27 June 2006
Next round of my garden mat finished!!
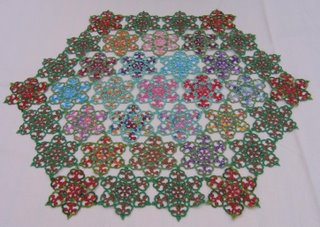
Finally got the next round of this mat finished last night. What I really love about this one is that it doesn't need 'blocking' before pressing! I just threw it on the ironing board (WHEN I found it - that's the ironing board) and then (having finally located the iron) threw that on top!! It now measures 19" from 'point to point' and 17" from side to side. Now, do I do another round? Hmmmm, fancy a 'sky' round in blues, purples and mauves. This is proving a good way to use up my stash of 60, 70 and 80 threads. I'm using whatever is in 'the box' and adding a filament type to go with it. The filaments are also lurking in the same box. Great fun deciding which combinations to use next and trying to work out whether there's going to be enough!!
21 June 2006
19 June 2006
Sad day - lost an elephant!
Well what a day. I've spent ages looking for a trial elephant (a baby one) this morning so finally gave in and made another. The last one had leg problems (perhaps that's why it's hoofed it) and the ears weren't quite right. Think this one is nearly, nearly OK. All made in one with no cutting and tying til you get to the end. The ear lies on top of the body and can be flapped open if wanted.
Anyway instead of nattering - here it is!!!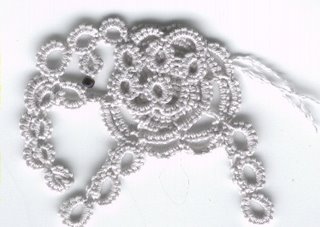
Anyway instead of nattering - here it is!!!

11 June 2006
England’s Flag © Jane Eborall 2006
An afternoon in the garden (far away from the television) while England were playing their first match in the World Cup (I think) resulted in this design with the pattern below. Enjoy. Using two shuttles using white thread CTM
Row 1
R1: 3 vsp 3 vsp 6
SR2: * 6 / 3 vsp 3 repeat from * 3 times
SR6: 9 / 3
Row 2
SR7: 6 vsp 3 / 3
SR8: 3 vsp 3 / 3 + (SR5) 3
SR9: 3 vsp 3 / 3 + (SR4) 3
SR10: 3 vsp 3 / 3 + (SR3) 3
SR11: 3 vsp 3 / 3 + (SR2) 3
SR12: 3 / 3 + (1st p R1) 3 vsp 3
Row 3
SR13: 3 / 3 vsp 3 vsp 3
SR14: 3 + (SR11) 3 / 3 vsp 3
SR15: 3 + (SR10) 3 / 3 vsp 3
SR16: 3 + (SR9) 3 / 3 vsp 3
SR17: 3 + (SR8) 3 / 3 vsp 3
SR18: 3 + (SR7) 6 / 3
Row 4
SR19: 9 / 3
SR20: 6 / 3 + (SR17) 3
SR21: 6 / 3 + (SR16) 3
SR22: 6 / 3 + (SR15) 3
SR23: 6 / 3 + (SR14) 3
R24: 6 vsp 3 + (SR13) 3 T & C
Cross sections – 2 shuttles red, of course! CTM. First work the longest left to right stripe as follows.
R1: 4 + (space btwn SR7 & SR18) 4
SR2: * 4 / 4 repeat from * 3 times
R6: 4 + (space btwn SR12 & SR13) 4 T & C
Next the up/down stripe
R1: 4 + (space btwn SR3 & SR4) 4
SR2: 4 / 4 down joins with both shuttles into centre space btwn SR’s of first cross section.
SR3: 4 / 4
R4: 4 + (space btwn SR21 & SR22) 4 T & C
I did use a little red thread to gently attach the middle of the red cross to the white flag.
Flag pole 1 shuttle with black thread – starting at top with the knob on top of the pole.
R1: 4
Ch: 2 + (vsp on side of flag) 4 + (next vsp on flag) continue joining to all vsps and as long as you like to give a good pole!!!
 Using two shuttles using white thread CTM
Row 1
R1: 3 vsp 3 vsp 6
SR2: * 6 / 3 vsp 3 repeat from * 3 times
SR6: 9 / 3
Row 2
SR7: 6 vsp 3 / 3
SR8: 3 vsp 3 / 3 + (SR5) 3
SR9: 3 vsp 3 / 3 + (SR4) 3
SR10: 3 vsp 3 / 3 + (SR3) 3
SR11: 3 vsp 3 / 3 + (SR2) 3
SR12: 3 / 3 + (1st p R1) 3 vsp 3
Row 3
SR13: 3 / 3 vsp 3 vsp 3
SR14: 3 + (SR11) 3 / 3 vsp 3
SR15: 3 + (SR10) 3 / 3 vsp 3
SR16: 3 + (SR9) 3 / 3 vsp 3
SR17: 3 + (SR8) 3 / 3 vsp 3
SR18: 3 + (SR7) 6 / 3
Row 4
SR19: 9 / 3
SR20: 6 / 3 + (SR17) 3
SR21: 6 / 3 + (SR16) 3
SR22: 6 / 3 + (SR15) 3
SR23: 6 / 3 + (SR14) 3
R24: 6 vsp 3 + (SR13) 3 T & C
Cross sections – 2 shuttles red, of course! CTM. First work the longest left to right stripe as follows.
R1: 4 + (space btwn SR7 & SR18) 4
SR2: * 4 / 4 repeat from * 3 times
R6: 4 + (space btwn SR12 & SR13) 4 T & C
Next the up/down stripe
R1: 4 + (space btwn SR3 & SR4) 4
SR2: 4 / 4 down joins with both shuttles into centre space btwn SR’s of first cross section.
SR3: 4 / 4
R4: 4 + (space btwn SR21 & SR22) 4 T & C
I did use a little red thread to gently attach the middle of the red cross to the white flag.
Flag pole 1 shuttle with black thread – starting at top with the knob on top of the pole.
R1: 4
Ch: 2 + (vsp on side of flag) 4 + (next vsp on flag) continue joining to all vsps and as long as you like to give a good pole!!!
5 June 2006
4 June 2006
Back after a few day's break
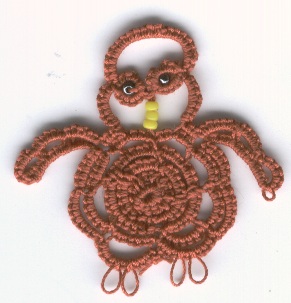
Sometimes helps to take a break from a new design. The head is looking better but the stitch count needs to be 're-visited'. The wings are better too now. Not sure of the stitch count on the eyes either and am still 'pondering' whether to have tufts or not. Perhaps another go this evening will make it 'right'!!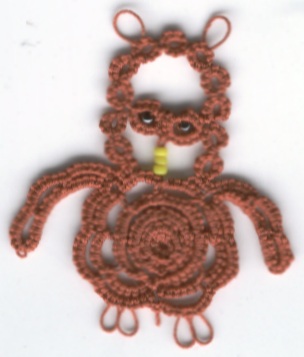

31 May 2006
30 May 2006
29 May 2006
28 May 2006
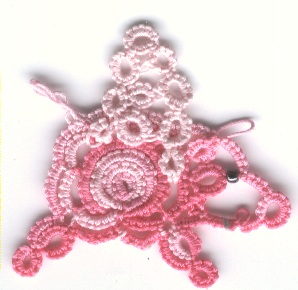
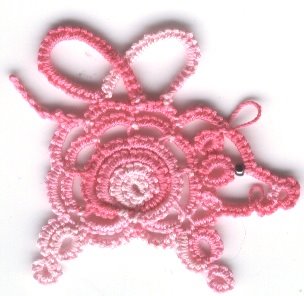
Another flying pig!!
Sue suggested that those other wings weren't quite right so here's a third attempt. Second attempt - in the trash!!!
Subscribe to:
Comments (Atom)
Creative Commons Licence
Tatting and NOT a Lot Else by Jane Eborall is licensed under a Creative Commons Attribution-NonCommercial-ShareAlike 3.0 Unported License.
Based on a work at http://janeeborall.blogspot.co.uk/.
Happy Beaks

I beg your pardon? I didn't quite catch what you said.


