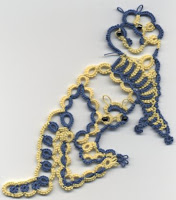
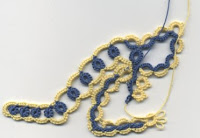
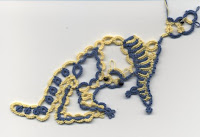
Ta de dah. Thanks to a really, really wet and horrid day here in the U.K. I was able to sit down with the laptop in the afternoon and concentrate on the kangaroo.
I used two shades of brown as I think they look pretty cool. There are a few places that need 'tweaking' but I'm getting quite pleased with it now. The text needs to be checked (along with the tweaking) and the drawing needs quite a bit of work too.
Ah, this time I'm trying another idea with the text. I know that a lot of people like to do 'front side, back side' tatting so I've written the pattern in order to help those people. Let me show you the start of the text for the kangaroo.
R1: 2 vsp 6 vsp 4 - 4 Cl RW
Ch: 6 RW
R2: 3 + (R1) 3 vsp 3 – 3 Cl RW
Ch: 8 RW
R3: 3 + (R2) 3 vsp 3 – 3 Cl RW
Ch: 8 RW
Can you see where I've used italics? That's to show where you start a ring (or chain) using second half of double first followed by first half ds. (Like the second side of a SR).
The kangaroo is worked in one 'hit' so no cutting and tying until you get to the end.
Oh, nearly forgot to add the picture!!!


